Thursday, November 28, 2013

Thanksgiving Tables and People.


Hello all,  I hope you all had a lovely Thanksgiving.  Of course I had a blast, I got to use three sets of dishes, and set three tables.  We served dinner to 28 people!  Here are the three tables...


... And here are some of the people.

My sons Ben and Trevor, and Ben's friend Hannah.

My daughter Ashley and most of her family.

My daughter-in-lae, Brittneynand some friends she brought to share dinner.

My two oldest grandsons.

DIL and LuLu

Mr. P with our newest grandchild, McKenna, who is was a week old on Thanksgiving.

I hope you all enjoy getting ready for Christmas!

Tuesday, November 26, 2013

Christmas Crafting


Yep, Thanksgiving dinner will be here in two days, and I willl be serving 27 ... So was I baking pies?  Nope ... I was being driven by my internal craft minions ...  
I started with this flat bed spring, coiled into a 1 foot diameter ring ...

...added a dollar store wreath the same size ...

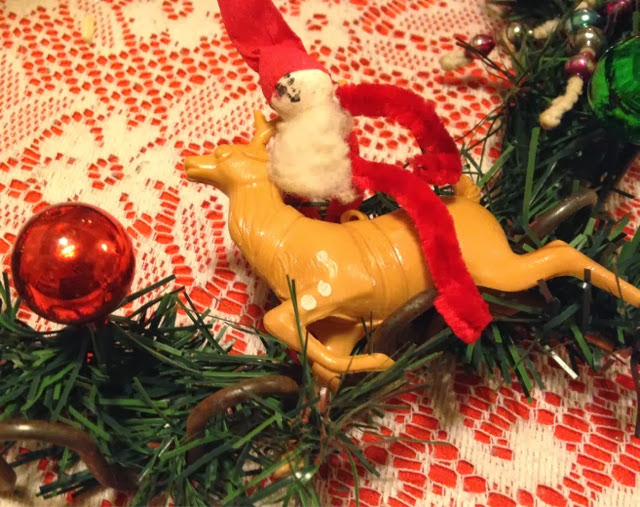
... Then I added vintage Christmas elements ... Fun and funky and green!


I also put together a few funky salt shaker 'cloches' .... Many thanks to Angie at The American Homemaker for providing the tiny kitsch, well, other than the tree, which I made from branches off the Dollar Store wreath, twisting together a couple of branches, then trimming them into a cone shape, before touching the branches with white paint ... They ended up looking pretty cute, don't you think?

Oh, and with the Primary Children's Festival of Tree set up on Monday, I spent a lot of the day with details for the tree, including painting white dots on red ornaments ...

I would like to thank my daughters and DILs for offering to help with thanksgiving ... It leaves me time for doing what I love best ... Happy crafting, and a lovely Thanksgiving!  

Thursday, November 21, 2013

Art Retreat Time ... Again!


Another week and another art retreat, how lucky am I?

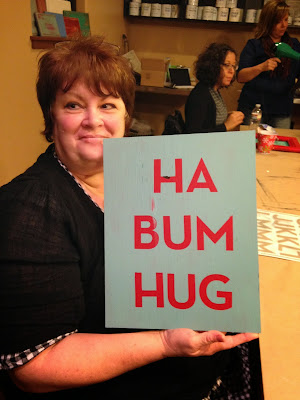
The class was taught by the founders of Hazel and Ruby, shown to the left.  Their amazing stencils are reusable and work on the opposite principle that regular stenciling does.

Your first coat of paint or deco paged paper is what your letters will be, then removable, reusable stencils are place on top of ...then you paint on your background over the letters.  While paint is still wet, letters re removed and cleaned for future use. Another coat of decoupage, we used Modpodge, finishes it off.
Here we see Reclaimilogists Jody and Mandy at work. 


Christine of Utah Vintage Yardsale, a popular local FB site, shows off her art work 
Kelli, of Smelli Kelli on Etsy, will have to redo her fun design, as she used glass for the base, which causedn the second layer of paint to separate ... Ah, we live and learn.

I loved the use of the bird in Christine's daughter's design.

Mandy and Shannon of Renclaimilogists and Other Crafty Chicks, show off their finished projects. 

... And here I am with all those that sponsored the evening ... April James, far right, of April James Interiors at 747 N Main in Spanish Fork, provided the class room space and milk paints we used.  She also sells chalk paint and finished reclaimed furniture, you should stop by and check it out!


.... And last of all, my finished work.  Thanks for stopping by. 

Artsy Weekend Retreat Advent Calendar+


Ah the joys, of holiday crafting that is... And joyful it was at the Artsy Weekend I attended last weekend.  You already got to see the 30 days of thanks flip cards I made, but this project was sponsored by the group and was taught by Dru...


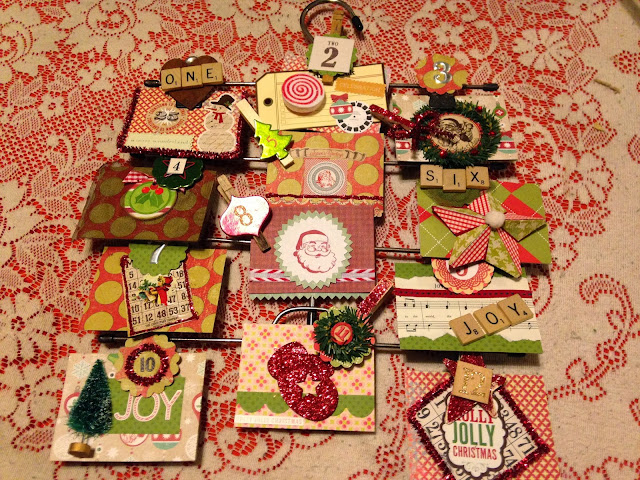
This is the red and green sample advent calendar.

This is the  gold sample.

And here are just some of the goodies we got to choose from to make it happen!


Other crafters were keeping busy too!
This is Laurie, she sat across the table and shared her cute ideas and materials with me.  She is a native Texan, so it was fun to visit about the joys of Texas, since my daughter Emily and two of my grandbabies have been living there the last couple of months .

New friends are always fun, and these are some seriously talented and amazing ladies.

Here is my completed version ... It wasn't until I was completely done that I noticed that the middle bottom card's green was off ... Just one of those things that can really bug you.  So I tore it apart, and used papers I had at home ... Though I didn't really have a graphic that went with the rest of the materials ...


.... Alas Graphics Fairy saves the day ... I was able to find this great 50's Santa that matched the mood of the other art I had chosen at the retreat and voila ... It fits the style and color scheme perfectly.
This is another favorite card ...

... And the blank hanger framework ...

Now filled with all the cards, including Mr Santa, right there in the middle.

Thanks again to all the girls who made this project so much fun!

Wednesday, November 20, 2013

Wishing You a Junky Christmas!

Today I just wanted to share some of the vintage reinventions I saw at the Fleattitude sale this past weekend

This cool joy sign with the 'cut your own tree ' sign is by Jennine who does fleaology under the name LeJunk!

The great wreath made with spools of thread is by Jenn of Fleattitude fame.

The great Christmas socking and even greater terrarium are by Brandon of Two Pits of a Pear, another fleaology dealer.
he also did the cool 25 above.

Possibly my favorite reinvention is this toy junk wreath by Jenn.


More vintage Christmas fun.

This fun reinvented mantel is also by Brandon.


More goodies.
                                    And a Merry junky Christmas to all.  And to all a good night!